Stephen made a “light up” Arrow of Light for his son and was kind enough to send in pictures and instructions if anyone else would like to make one. So thank you Stephen for the following!
If you have a project you’d like to share on this website, just contact me.
An Unconventional Arrow of Light Award
Submitted by Stephen
Traditionally a Webelos upon earning his Arrow of Light is presented with a decorative arrow to commemorate this event. The Scout Store even sells a ceremonial arrow kit to get parents started. Traditionally the arrow is decorated with colored stripes using paint, thread or tape, each stripe representing a achievement by the scout during his time as a Cub Scout.

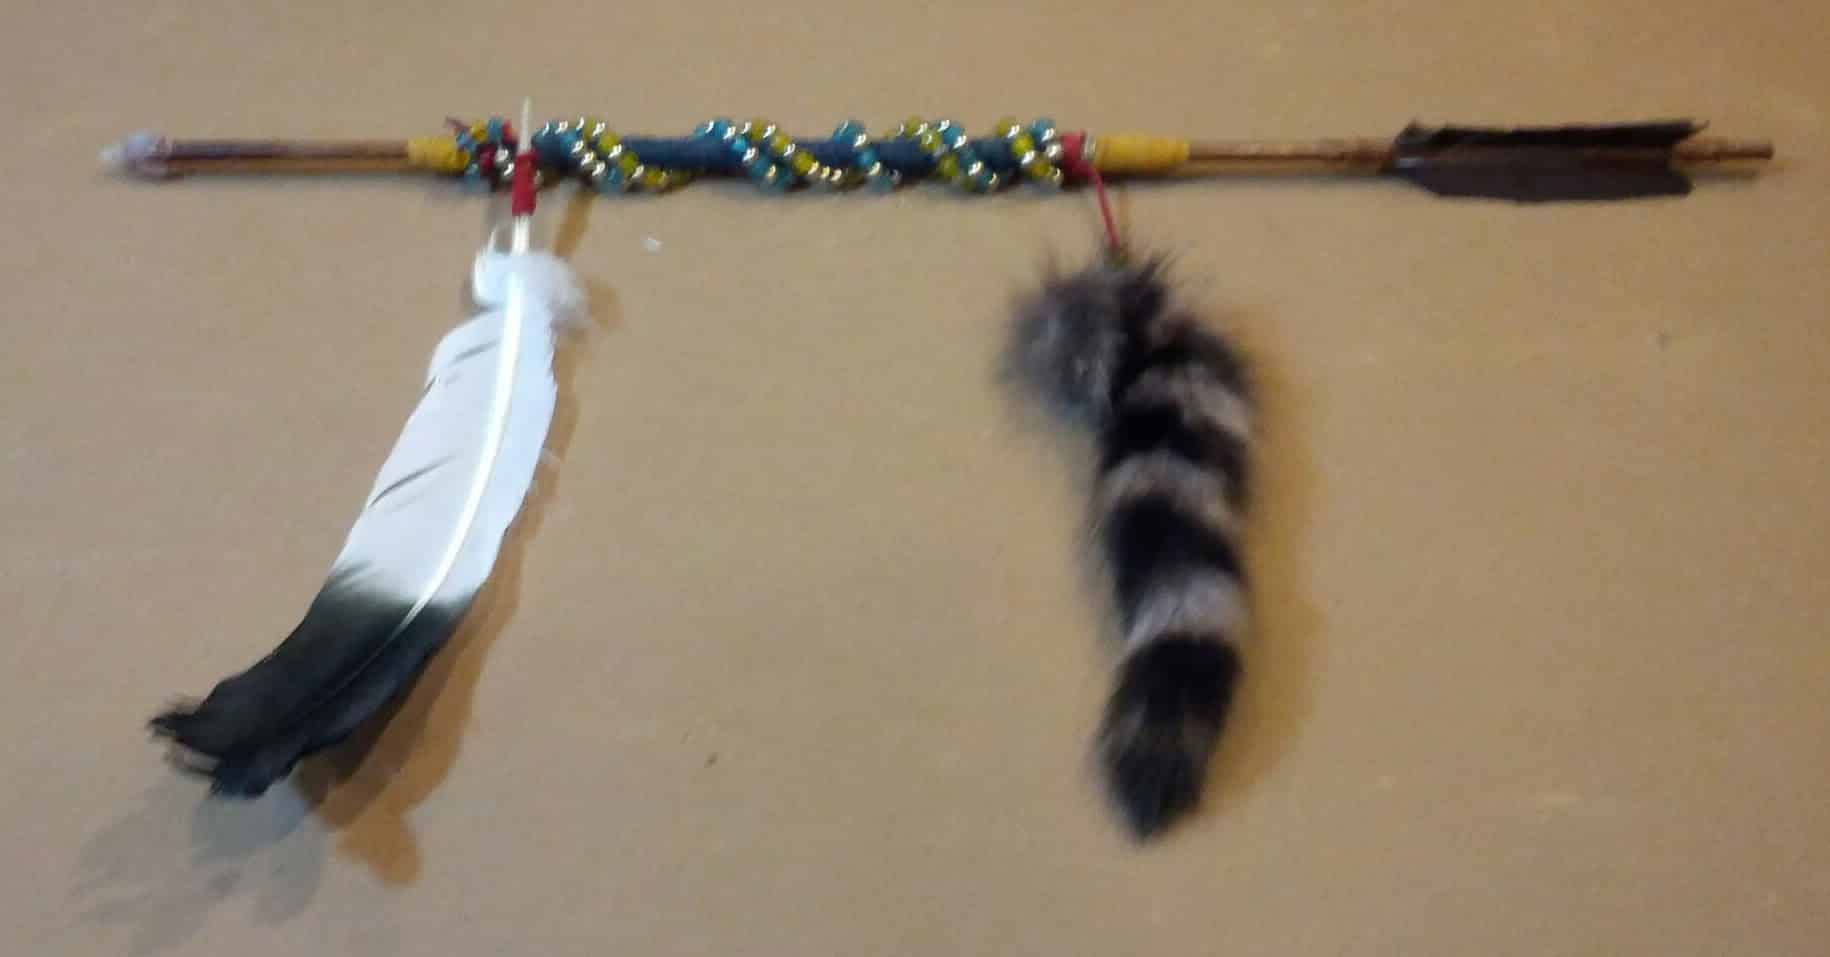
My oldest son started Cub Scouts in Webelos, as such his arrow would have been rather plain. I chose instead to decorate the arrow using leather, fur, a feather and beads with a special message encoded in the beads. I knew that I need to do something unique for my second son when he earned his Arrow of Light. I decided to make an arrow for him that would light up. This project was very easy and turned out well. He was very impressed.

The materials required for this project:
Purchased at Fry’s Electronics
- Electric Optics 6 Foot EL Wire Starter Kit (http://www.ellumiglow.com)
- ¾” Tech-Tron Heat Shrink Tubing
Purchased at The Indian Store, Vista, CA (http://www.indianstore.org)
- Arrow with feather fletching and stone arrowhead
Purchased at Walmart
- Gold Craft Wire (Gold Beading Wire)
EL or electroluminescent wire is a wire that glows when current is applied. It will not heat up and does not typically pose any type of shock hazard. This makes it great for craft projects. Recently EL Wire has become available kits that require no soldering to use. Online retailers will also put together custom kits when an off the shelf kit doesn’t meet your needs.
I am very lucky to have an excellent source of native american craft supplies near me. I am able to find both the pre-fletched arrows as well as all of the items that were used to craft my first arrow. However, any arrow can be used for this project.
Step 1
I tightly coiled the EL wire around the arrow. During all steps of construction I would connect the inverter to the EL wire and check for correct operation.
Step 2

I used gold craft wire to secure the end of the EL wire without the connector to the end of the arrow closest to the arrow head. My intention was to hide the battery pack in the fletching as best as possible.
I stretched the wire out for the length of the arrow and twisted it to ensure it was a tight as possible before securing the second end of the EL wire near the fletching with craft wire.
Step 3
To ensure that the EL wire stayed in place I slid a length of clear heat shrink tubing over the arrow covering the entire length of EL wire. I did this to ensure the arrow could be handled without the EL wire coming loose or being damaged. I shrank the tubing with a hair dryer.

I also used a short piece of tubing to connect the inverter/battery pack to the arrow using the belt clip on the inverter. Finally I secured the battery pack with an additional zip tie to ensure it was stable.
This arrow made quite an impact at our outdoor Arrow of Light ceremony. Regardless of what type of arrow you present to your Webelos, I encourage you to make it unique and personal.


Leave a Reply