Materials Needed:
- Small piece of leather (about 2 inches by 6 inches)
- Ruler
- Pencil or pen for marking
- Scissors or leather cutter
- Hole punch (optional)
- Leather stamps or tools (optional)
- Mallet or hammer (for stamping)
- String or leather cord (optional for decoration)
- Safety glasses (if using tools)
Instructions:
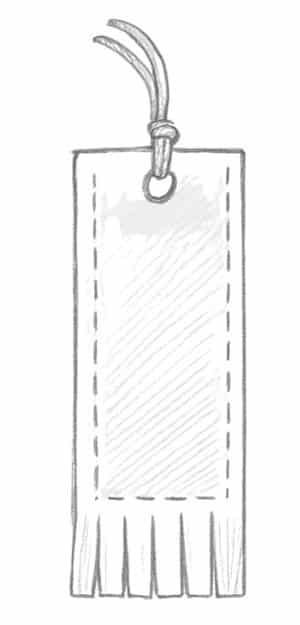
- Use the ruler to measure a rectangle on the leather, about 2 inches wide and 6 inches long.
- Mark the shape lightly with a pencil or pen.
- Cut along the lines using scissors or a leather cutter. Get adult help if needed.
- If you want to add a hole at the top for a string or cord, use a hole punch to make one.
- Decorate the bookmark using leather stamps or tools. Use a mallet or hammer to press the stamp into the leather.
- If you punched a hole, tie a short piece of string or cord through it.
Notes:
- Always have an adult help when cutting or using tools.
- Wear safety glasses if using a mallet or hole punch.
- You can round the corners or cut a triangle at the bottom to change the shape.
- If leather is not available, try craft foam or heavy felt as a substitute.
For more information, see https://scoutermom.com/804/leather-bookmark/