Materials:
- Sand (damp, not dry)
- Cardboard box or shallow tray
- Object to press (shoe, shell, leaf, animal track, etc.)
- Plaster of Paris
- Water
- Mixing bucket
- Mixing stick (old spoon or paint stick works)
- Measuring cup
- Old newspaper or plastic to cover work area
- Safety goggles (optional)
- Disposable gloves (optional)
Instructions:
- Cover your work area with newspaper or plastic. Plaster is messy.
- Fill the cardboard box about halfway with damp sand. The sand should hold its shape when pressed.
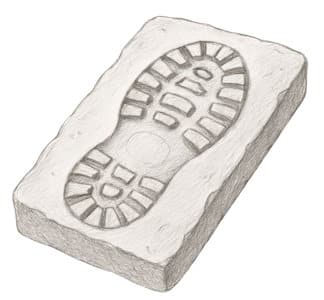
- Press your object into the sand to make a clear print. Then gently lift it out.
- In your bucket, mix the Plaster of Paris with water. Follow the directions on the package.
- Stir the mixture well until smooth. Use the mixing stick.
- Carefully pour the plaster into the sand mold. Fill it slowly.
- Let the plaster sit for several hours or overnight until it is hard.
- Once dry, lift the plaster out of the sand. Gently brush off any extra sand.
Safety Notes:
- Do not touch wet plaster with bare hands for too long. It can irritate the skin.
- Do not pour extra plaster down the sink. It can clog the drain. Let it harden first, then throw it away.
- Supervise younger Scouts closely during mixing and pouring.
Variations:
- Use natural objects like leaves or sticks to make nature prints.
- Try making a track mold on a hike. Bring damp sand in a tray, press a track, then pour plaster when back at your meeting place.
- Use this craft during a forensic-themed meeting to make “crime scene” shoe prints.
For more information, see https://scoutermom.com/5744/making-plaster-prints/