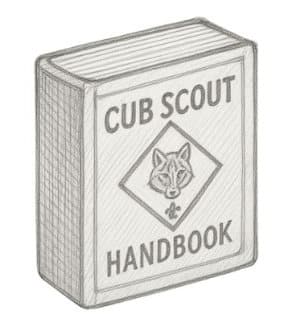
Materials:
- Color printer
- Computer with scanner or digital image of book
- Plain paper or card stock
- White glue
- Small block of plywood (1/8 to 1/4 inch thick)
- Small saw (to cut wood blocks)
- Sandpaper
- Clear varnish or Mod Podge
- Small piece of PVC pipe or chenille stem (for back loop)
- Scissors
- Ruler
Instructions:

- Scan or find a clear image of the front, spine, and back of a book. The front image is the most important.
- Paste the three images together in a line. Make it look like one flat book cover.
- Shrink the image to about 1½ inches wide. For handbooks, shrinking to 18% usually works.
- Print the image in color. Use card stock if possible, but plain paper works too.
- Measure the size of the printed image.
- Cut a block of plywood to match that size. Sand the edges if rough.
- Wrap the printed book cover around the block. Glue it in place.
- Trim the edges if needed.
- Let the glue dry.
- Paint over the book with clear varnish or Mod Podge to protect it.
- Let it dry again.
- Glue a loop of PVC pipe or a chenille stem loop to the back. Hot glue holds better.
- Let the glue dry fully before wearing.
Notes and Variations:
- Scouts can use any book cover, not just handbooks.
- Try comic books, favorite chapter books, or even make up a book cover.
- Younger Scouts will need help with the saw and varnish.
- Always use glue and varnish in a well-ventilated area.
- Be careful with sharp tools. Adults should supervise or handle the cutting and using hot glue.
For more information, see https://scoutermom.com/25517/mini-book-neckerchief-slide/