Equipment:
- Pocketknife
- Wood burning tool (optional)
- Drill (optional)
- Leather punch (optional)
Materials:
- Sturdy stick (about 4 feet long; oak works well)
- Sandpaper
- Piece of leather (optional)
- Leather lacing (optional)
- Shoelace (optional)
Instructions:
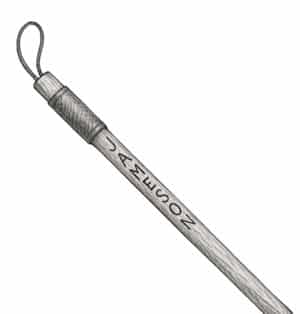
- Choose a strong, straight stick about 4 feet long. It should be dry and not rotten.
- Use a pocketknife to carefully strip all the bark off the stick.
- Sand the stick until it feels smooth. Be sure to remove any rough spots or splinters.
- (Optional) Use a wood burning tool to burn your name or designs into the stick.
- (Optional) To add a leather grip:
- Cut a piece of leather so it wraps around the stick.
- Punch holes in both ends of the leather.
- Wrap it around the stick and lace it up with leather cord.
- (Optional) Drill a hole near the top of the stick and thread a shoelace through it. Tie a knot. This lets you hang it up when not in use.
Safety Notes:
- Always review knife safety rules before starting.
- Only Scouts with their knife safety training should use pocketknives.
- Adult help is needed for tools like wood burners or drills.
- Keep a first aid kit nearby just in case.
Variations:
- Add paint, beads, or stickers for decoration.
- Glue on badges or patches from hikes.
- Use paracord instead of leather for the handgrip.
For more information, see https://scoutermom.com/24820/hiking-stick-project/